The Best Ever Garlic Aioli Recipe
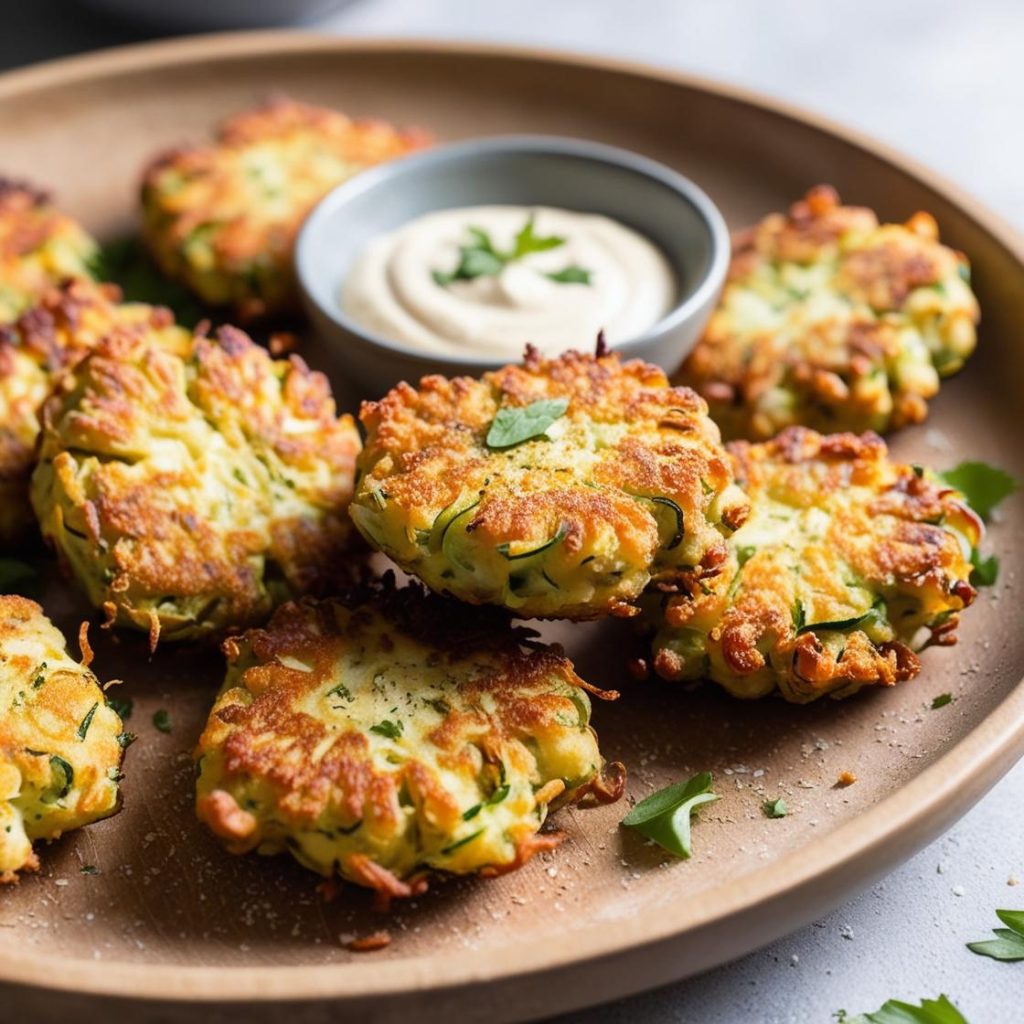
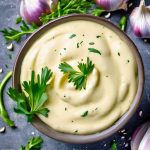
Garlic aioli is a rich, creamy, and garlicky sauce that pairs perfectly with fries, sandwiches, seafood, and more. With just a few simple ingredients, you can make this delicious homemade condiment in minutes.
Garlic aioli has roots in Mediterranean cuisine and is loved for its bold flavor.
Traditionally, aioli was made by emulsifying garlic and olive oil, but modern versions often include egg yolk and lemon juice for a smoother texture and balanced taste.
Why You’ll Love This
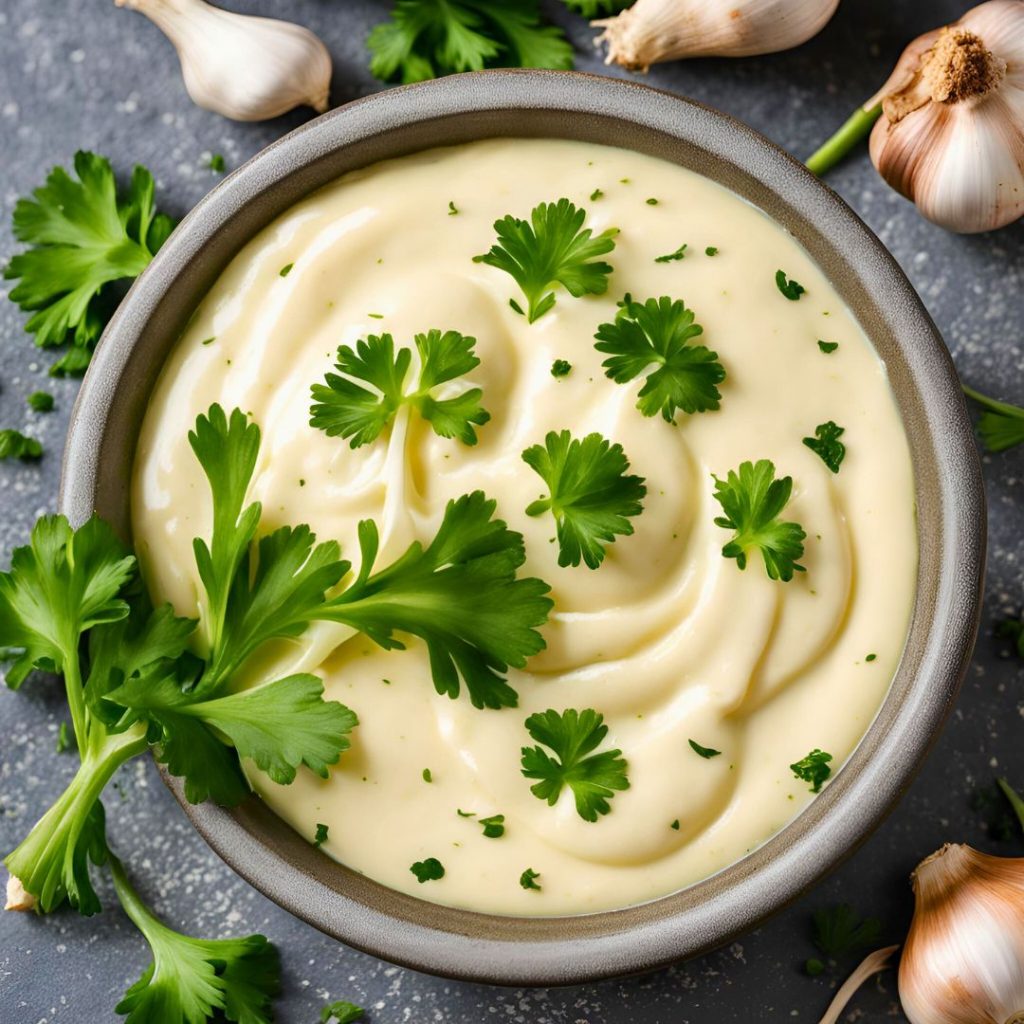
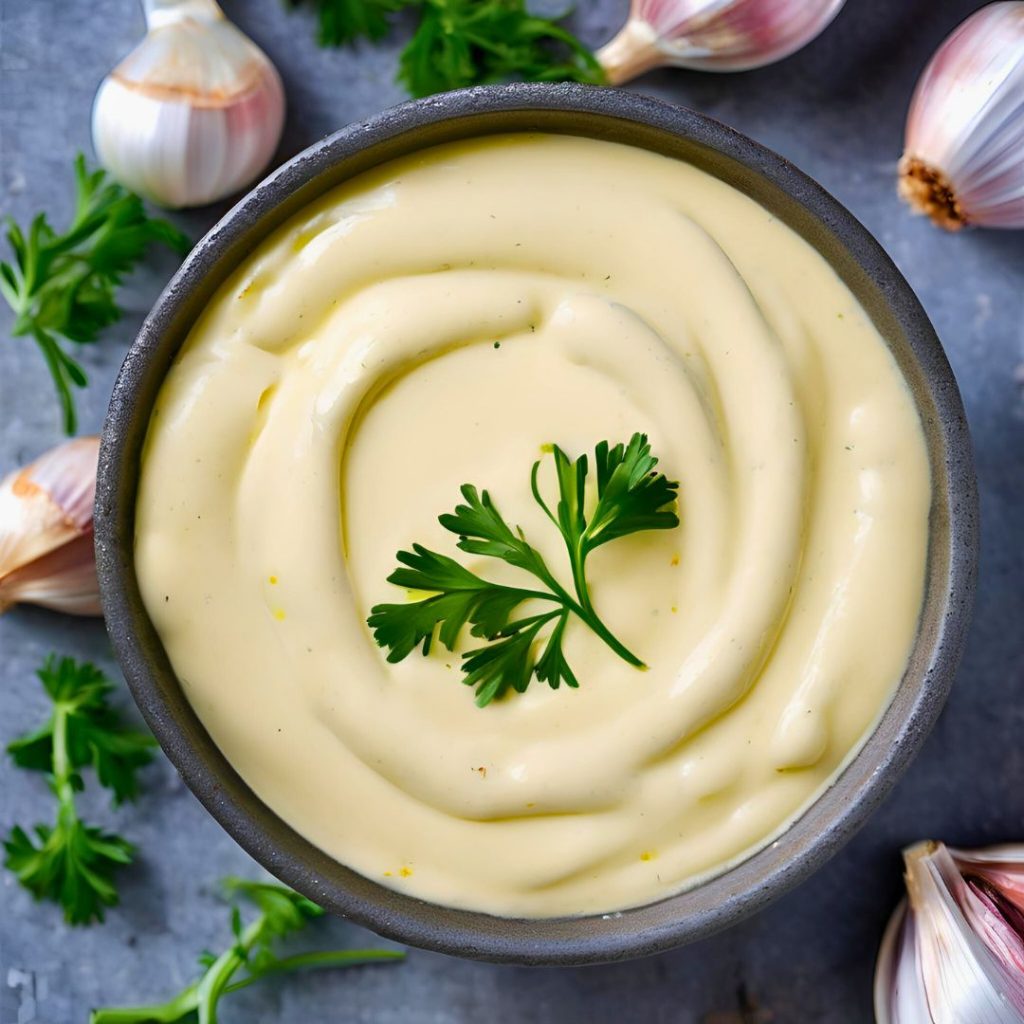
- Rich and Creamy Texture – This aioli is smooth and velvety, perfect for dipping or spreading.
- Bold Garlic Flavor – If you love garlic, this sauce is a must-try!
- Versatile – Use it as a dip, spread, or even a salad dressing base.
- Easy to Make – Ready in under 10 minutes with minimal ingredients.

Prep Time: 5 minutes
Cook Time: 0 minutes
Total Time: 5 minutes
Cuisines: Mediterranean, French
Servings: 6
Estimated Cost: $3-$5
Equipment
- Mixing bowl
- Whisk or immersion blender
- Garlic press (optional)
- Measuring spoons
Ingredients
- 1/2 cup mayonnaise
- 2 garlic cloves, minced
- 1 tablespoon lemon juice
- 1/2 teaspoon Dijon mustard
- 1/4 teaspoon salt
- 1/4 teaspoon black pepper
- 2 tablespoons olive oil
Step-by-Step Instructions
- Prepare the Garlic: Mince the garlic cloves as finely as possible or use a garlic press.
- Mix Ingredients: In a mixing bowl, whisk together the mayonnaise, garlic, lemon juice, Dijon mustard, salt, and black pepper.
- Incorporate the Olive Oil: Slowly drizzle in the olive oil while whisking continuously until well combined.
- Adjust Seasoning: Taste and add more lemon juice or salt if needed.
- Chill & Serve: Let the aioli sit for at least 10 minutes for the flavors to meld. Serve with fries, sandwiches, or seafood.
Nutrition Facts (Per Serving)
- Calories: 100
- Fat: 10g
- Carbohydrates: 1g
- Protein: 0g
- Fiber: 0g
- Sodium: 100mg
Tips for Success
- Use Fresh Garlic – Freshly minced garlic gives the best flavor, avoiding pre-minced options.
- Whisk Properly – Emulsify the oil slowly to get a creamy consistency.
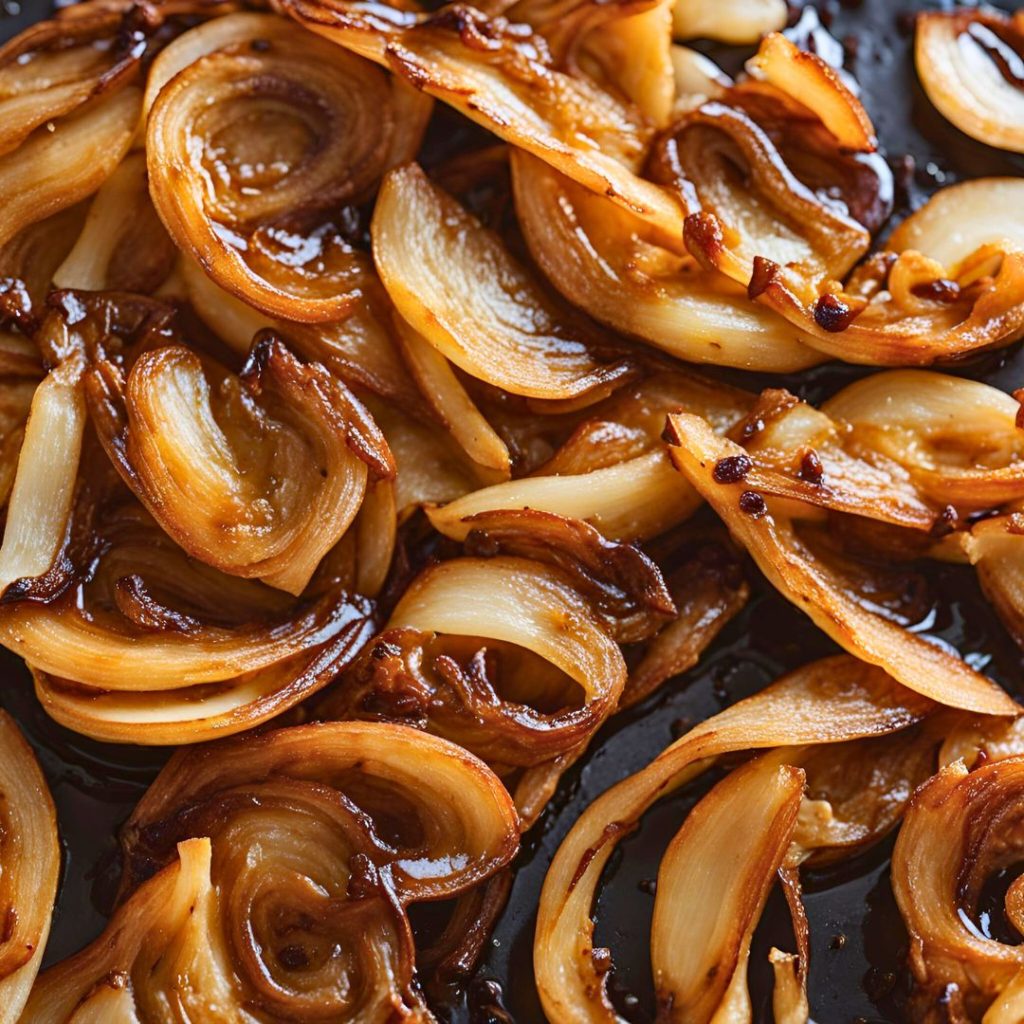
- Adjust Garlic Strength – Use roasted garlic for a milder taste or raw for a stronger punch.
- Let It Rest – Allow the aioli to sit for a few minutes before serving to enhance the flavor.
Common Questions
1. Can I make garlic aioli without mayo?
Yes! Traditional aioli uses only garlic and olive oil, though the texture will be thinner.
2. How long does homemade aioli last?
Store it in an airtight container in the fridge for up to 5 days.
3. Can I use a food processor instead of whisking?
Absolutely! A food processor makes emulsification easier and results in a smoother texture.
4. What can I serve with garlic aioli?
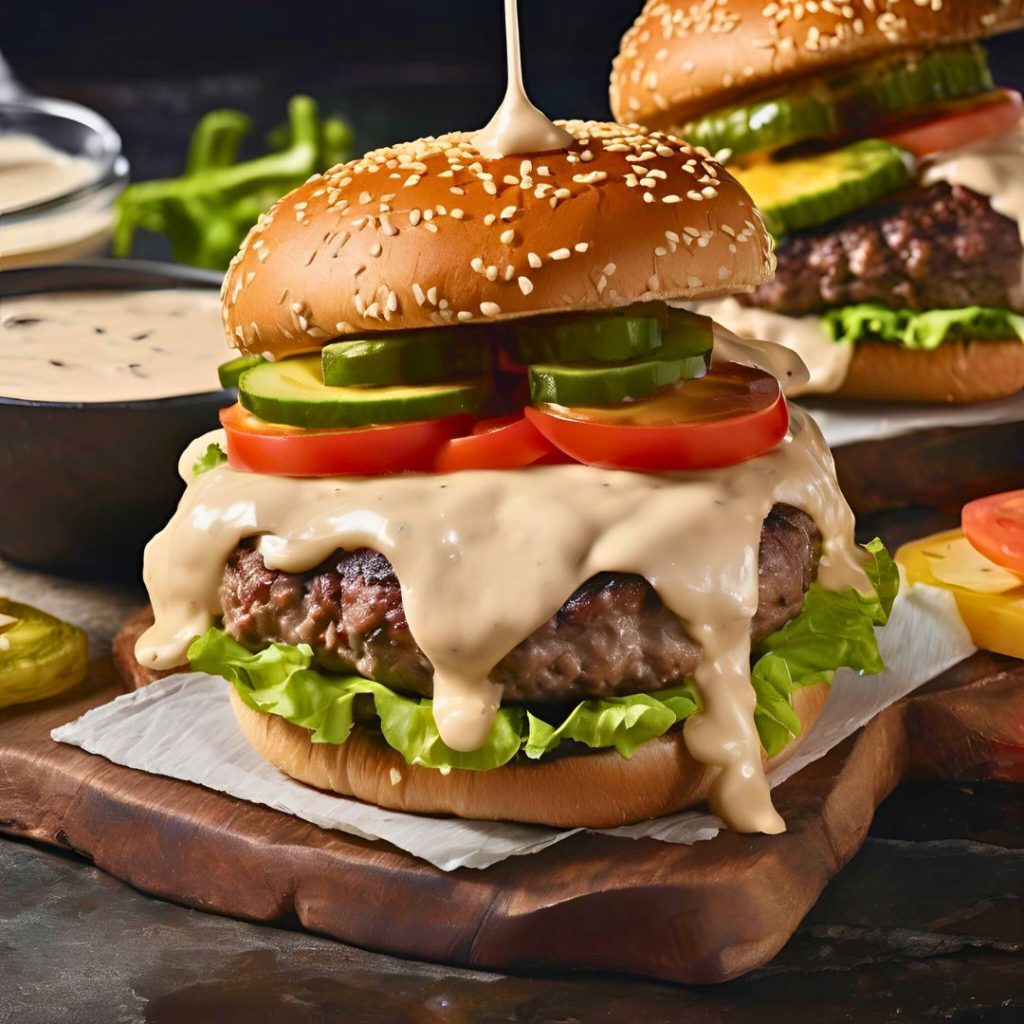
It pairs well with fries, burgers, seafood, grilled vegetables, and sandwiches.
The Best Ever Garlic Aioli Recipe
Equipment
- Mixing bowl
- Whisk or immersion blender
- Garlic press optional
- Measuring spoons
Ingredients
- ½ cup mayonnaise
- 2 garlic cloves minced
- 1 tablespoon lemon juice
- ½ teaspoon Dijon mustard
- ¼ teaspoon salt
- ¼ teaspoon black pepper
- 2 tablespoons olive oil
Instructions
- Prepare the Garlic: Mince the garlic cloves as finely as possible or use a garlic press.
- Mix Ingredients: In a mixing bowl, whisk together the mayonnaise, garlic, lemon juice, Dijon mustard, salt, and black pepper.
- Incorporate the Olive Oil: Slowly drizzle in the olive oil while whisking continuously until well combined.
- Adjust Seasoning: Taste and add more lemon juice or salt if needed.
- Chill & Serve: Let the aioli sit for at least 10 minutes for the flavors to meld. Serve with fries, sandwiches, or seafood.
Notes
- Use Fresh Garlic – Freshly minced garlic gives the best flavor, avoiding pre-minced options.
- Whisk Properly – Emulsify the oil slowly to get a creamy consistency.
- Adjust Garlic Strength – Use roasted garlic for a milder taste or raw for a stronger punch.
- Let It Rest – Allow the aioli to sit for a few minutes before serving to enhance the flavor.
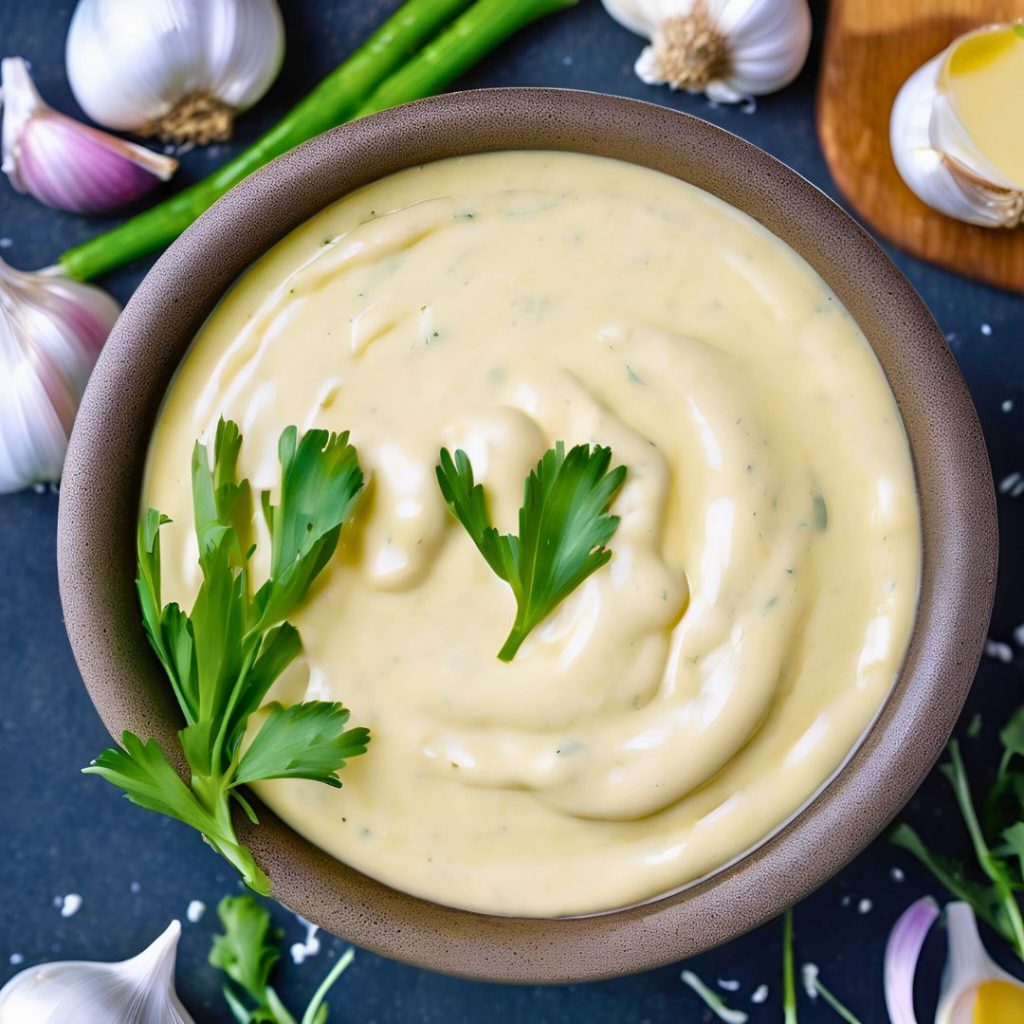
Enjoy making this simple yet delicious garlic aioli!
Let me know how it turns out, and happy cooking!