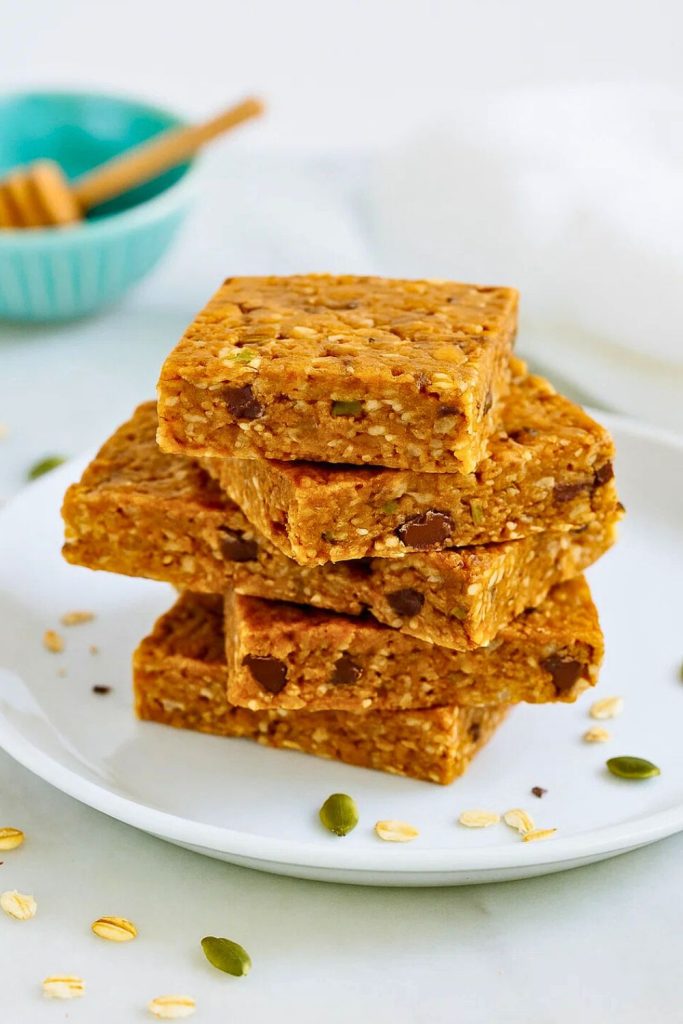
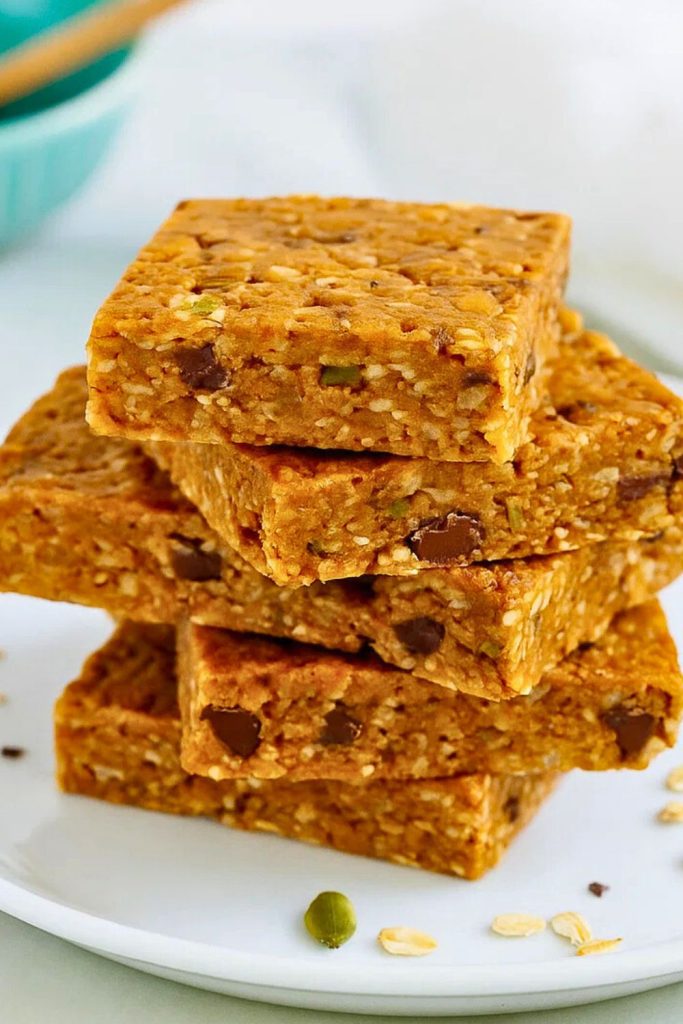
Looking for a wholesome, delicious snack that’s quick to make and doesn’t require turning on the oven? These Easy No Bake Granola Bars are the perfect solution. Packed with wholesome oats, nut butter, and your favorite mix-ins, they’re chewy, satisfying, and naturally sweetened — perfect for meal prep, lunchboxes, or a post-workout bite.
No baking, no fuss, and full of flavor — that’s why these bars are a go-to favorite in so many households.
Whether you’re a busy parent, a college student, or just someone looking to snack smarter, you’ll fall in love with how easy and customizable this recipe is.
It all started on a hectic weekday morning when I was rushing to get my kids ready for school.
I realized I had nothing to pack for their snack box — and that’s when I thought of throwing together a quick granola bar with what I had in the pantry.
A few minutes later, oats, peanut butter, and honey became something magical.
The kids loved them. My husband couldn’t stop sneaking bites.
And I knew I had found a new staple.
Since then, these no bake granola bars have become our anytime snack — made with love, often with helping hands from the little ones.
Why You’ll Love This
1. No Oven Required (Perfect for Any Season!)
This recipe is a true no-bake wonder. Whether it’s the middle of summer and you want to keep the kitchen cool, or you’re just not in the mood to bake, this granola bar recipe comes together effortlessly without preheating anything. You just mix, press, chill — and enjoy!
2. Customizable to Your Taste
Whether you’re team chocolate chip or team dried cranberry, this recipe is made to flex. Add chopped nuts, seeds, coconut flakes, or even mini marshmallows for a fun twist. You can make them vegan, gluten-free, or nut-free with simple substitutions.
3. Nutrient-Rich and Naturally Sweetened
Packed with fiber-rich oats, healthy fats from nut butter, and natural sweetness from honey or maple syrup, these bars are a guilt-free snack that actually fuels you. Unlike store-bought versions, you control the sugar and ingredients — no preservatives or fillers.
4. Great for Meal Prep and On-the-Go
Whip up a batch on Sunday and enjoy grab-and-go snacks all week. They hold their shape well, travel easily, and are ideal for lunchboxes, road trips, or a quick energy boost between meals.
Recipe Details
- Prep Time: 10 minutes
- Cook Time: 0 minutes
- Total Time: 1 hour (including chilling)
- Cuisine Type: American, Healthy Snack, Kid-Friendly
- Servings: 12 bars
- Estimated Cost: $4–$6 per batch (depending on ingredients)
Equipment Needed:
- Mixing bowl
- Silicone spatula or wooden spoon
- 8×8-inch baking pan
- Parchment paper
- Measuring cups and spoons
- Optional: rolling pin (to press the mixture firmly)
- Optional: knife or bench scraper (to cut clean bars)
Ingredients
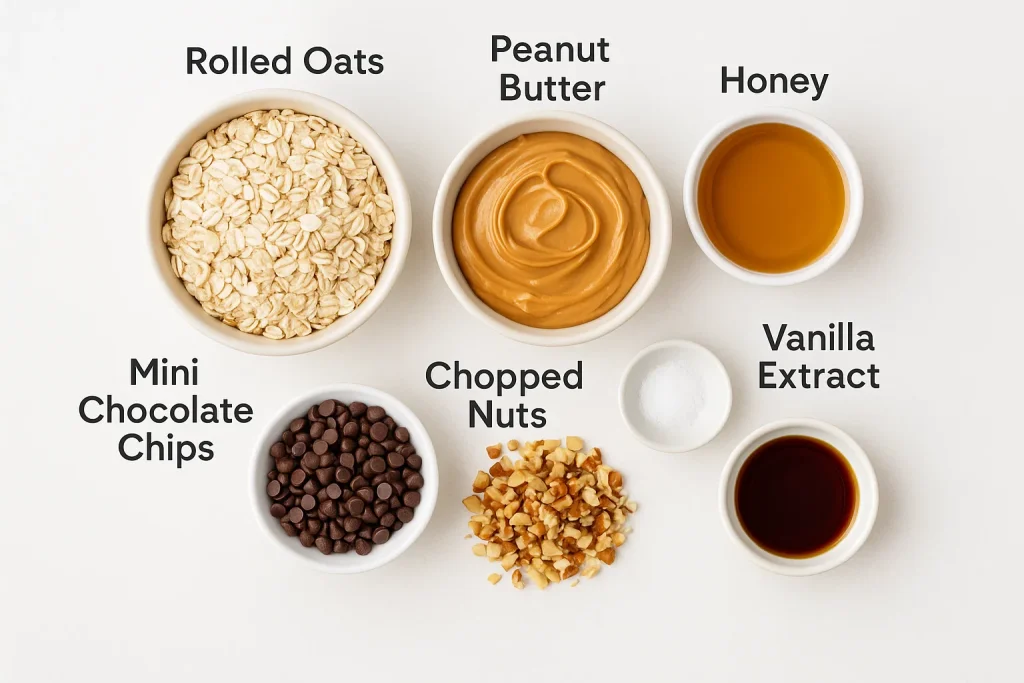
- 2 cups old-fashioned rolled oats (not quick oats)
- 1 cup natural peanut butter (or almond/sunflower seed butter)
- 1/2 cup honey (or maple syrup for a vegan version)
- 1/4 cup mini chocolate chips (optional, or use raisins/dried cranberries)
- 1/4 cup chopped nuts (almonds, walnuts, or pecans – optional)
- 1/4 tsp salt
- 1/2 tsp vanilla extract
- Optional add-ins:
- 2 tbsp chia seeds or flaxseed
- 1/4 cup unsweetened shredded coconut
- 1 tbsp cocoa powder for chocolate-flavored bars
Step-by-Step Instructions
1. Prep your pan.
Line an 8×8-inch square baking dish with parchment paper, leaving some overhang on the sides. This makes it easier to lift the bars out after chilling.
2. Combine wet ingredients.
In a large mixing bowl, add the peanut butter, honey (or maple syrup), vanilla extract, and salt. Stir until smooth and fully combined. If needed, microwave the mixture for 15–20 seconds to make it easier to mix.
3. Add dry ingredients.
Pour in the oats, chocolate chips, and any optional add-ins like nuts or seeds. Stir everything together until well coated. The mixture should be sticky but manageable — if it’s too dry, add a tablespoon more nut butter or honey.
4. Press into the pan.
Transfer the mixture into the prepared baking pan. Use a spatula or the back of a spoon to press it down evenly. For extra firm bars, place another sheet of parchment on top and use a rolling pin or flat-bottomed glass to press it down tightly.
5. Chill until firm.
Place the pan in the refrigerator and chill for at least 1 hour. This helps the bars set and makes cutting easier.
6. Slice and enjoy.
Once chilled, lift the bars out of the pan using the parchment paper. Cut into 12 even bars using a sharp knife. Store in an airtight container in the fridge for up to 1 week.
Nutrition Facts (Per Bar – Approximate)
- Calories: 220
- Protein: 6g
- Carbohydrates: 22g
- Fiber: 3g
- Total Fat: 12g
- Saturated Fat: 2g
- Sodium: 80mg
- Sugar: 10g
- Vitamin E: 10% DV
- Iron: 6% DV
Tips for Success
1. Press firmly for the best texture.
Packing the mixture tightly into the pan ensures the bars hold their shape and don’t crumble. Use a spatula or flat object to apply even pressure.
2. Chill completely before slicing.
Letting the bars set in the fridge solidifies the ingredients and makes clean slicing easier. Don’t rush this step.
3. Use runny nut butter.
Thicker, refrigerated nut butter can be hard to mix. Use room-temperature or slightly warmed nut butter for best results.
4. Add chocolate chips last.
If your mixture is warm from stirring or microwaving, wait until it cools slightly before adding chocolate chips — or they’ll melt into the mixture.
Common Questions
Can I make these nut-free?
Yes! Substitute sunflower seed butter or soy nut butter for a school-safe, nut-free option. Always check for cross-contamination if allergies are a concern.
How do I make these vegan?
Use maple syrup or agave nectar in place of honey. Also, ensure any mix-ins (like chocolate chips) are dairy-free and vegan-friendly.
Can I freeze these bars?
Absolutely. Wrap bars individually and store in a freezer-safe container for up to 3 months. Thaw at room temperature or in the fridge overnight before eating.
Why are my bars falling apart?
They may not have been pressed firmly enough or had too little binding ingredients. Make sure to measure the wet ingredients correctly and chill thoroughly before slicing.
Variations & Substitutions
Chocolate Peanut Butter Bars: Add 2 tbsp cocoa powder and use mini chocolate chips throughout. Drizzle melted chocolate on top for a decadent twist.
Fruit & Nut Bars: Mix in 1/4 cup chopped dried cranberries, apricots, or raisins and 1/4 cup chopped almonds or walnuts.
Tropical Bars: Use coconut flakes, dried pineapple, and cashew butter for a fun tropical flavor.
Protein Boost: Stir in a scoop of your favorite protein powder or collagen peptides for an extra nutrient punch.
Storage & Reheating Tips
Refrigerator: Store in an airtight container for up to 7 days. Bars will remain firm and chewy.
Freezer: Wrap bars in parchment or plastic wrap, place in a zip-top freezer bag, and freeze for up to 3 months.
Room Temperature: While they’re safe at room temperature for a day or two, they may get soft or sticky depending on the weather — best to keep them chilled when possible.
Health Benefits & Nutritional Insights
These no bake granola bars are not just tasty — they’re loaded with complex carbs, healthy fats, and plant-based protein. Oats support heart health and digestion, nut butter adds satiating fats, and honey (or maple syrup) gives natural sweetness without refined sugar.
Adding chia or flaxseed boosts omega-3s and fiber, and using dark chocolate chips or dried fruits brings antioxidants and minerals. It’s a snack that truly nourishes.
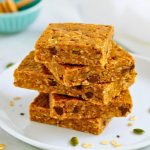
Easy No Bake Granola Bars
Ingredients
- 2 cups old-fashioned rolled oats not quick oats
- 1 cup natural peanut butter or almond/sunflower seed butter
- ½ cup honey or maple syrup for a vegan version
- ¼ cup mini chocolate chips optional, or use raisins/dried cranberries
- ¼ cup chopped nuts almonds, walnuts, or pecans – optional
- ¼ tsp salt
- ½ tsp vanilla extract
Optional add-ins
- 2 tbsp chia seeds or flaxseed
- ¼ cup unsweetened shredded coconut
- 1 tbsp cocoa powder for chocolate-flavored bars
Instructions
- Line an 8×8-inch square baking dish with parchment paper, leaving some overhang on the sides. This makes it easier to lift the bars out after chilling.
- In a large mixing bowl, add the peanut butter, honey (or maple syrup), vanilla extract, and salt. Stir until smooth and fully combined. If needed, microwave the mixture for 15–20 seconds to make it easier to mix.
- Pour in the oats, chocolate chips, and any optional add-ins like nuts or seeds. Stir everything together until well coated. The mixture should be sticky but manageable — if it’s too dry, add a tablespoon more nut butter or honey.
- Transfer the mixture into the prepared baking pan. Use a spatula or the back of a spoon to press it down evenly. For extra firm bars, place another sheet of parchment on top and use a rolling pin or flat-bottomed glass to press it down tightly.
- Place the pan in the refrigerator and chill for at least 1 hour. This helps the bars set and makes cutting easier.
- Once chilled, lift the bars out of the pan using the parchment paper. Cut into 12 even bars using a sharp knife. Store in an airtight container in the fridge for up to 1 week.
Notes
Packing the mixture tightly into the pan ensures the bars hold their shape and don’t crumble. Use a spatula or flat object to apply even pressure. 2. Chill completely before slicing.
Letting the bars set in the fridge solidifies the ingredients and makes clean slicing easier. Don’t rush this step. 3. Use runny nut butter.
Thicker, refrigerated nut butter can be hard to mix. Use room-temperature or slightly warmed nut butter for best results. 4. Add chocolate chips last.
If your mixture is warm from stirring or microwaving, wait until it cools slightly before adding chocolate chips — or they’ll melt into the mixture.
Whether you’re packing snacks for school, prepping for a busy week, or just craving a wholesome homemade treat, these no bake granola bars hit the spot.
Try them once, and you’ll keep coming back with new mix-in ideas and flavor twists.
No oven, no stress, just pure snacking joy — happy cooking and happy munching!